If you’re a shopper in 2022, chances are you’ve done the whole “research online, buy in person” thing, or some variation of it. That’s a little something called omnichannel commerce.
Omnichannel commerce involves selling your products across multiple different channels, which can be both online and offline. The benefits of omnichannel commerce include everything from inventory management to customer loyalty. Through omnichannel commerce you can offer your customers unique features like buying online and picking up in a store, or buying anywhere and returning anywhere. No matter how you look at it, offering the same amazing customer experience across different channels is important in this day and age.
 Jonathan Roque
Whether you currently have just online channels or just a brick and mortar location, adding the other only takes a few steps with most ecommerce platforms. We’re going to walk you through how you can get started with omnichannel commerce based on a few key ecommerce platforms: Shopify, BigCommerce, and Wix.
Shopify POS (Point of Sale)
With Shopify, setting up omnichannel commerce is relatively easy. In order to get started, you first need a basic Shopify account. There are several different plans and features available. If you already have an online Shopify store, then this step is already set up. Next up is starting to sell in person.
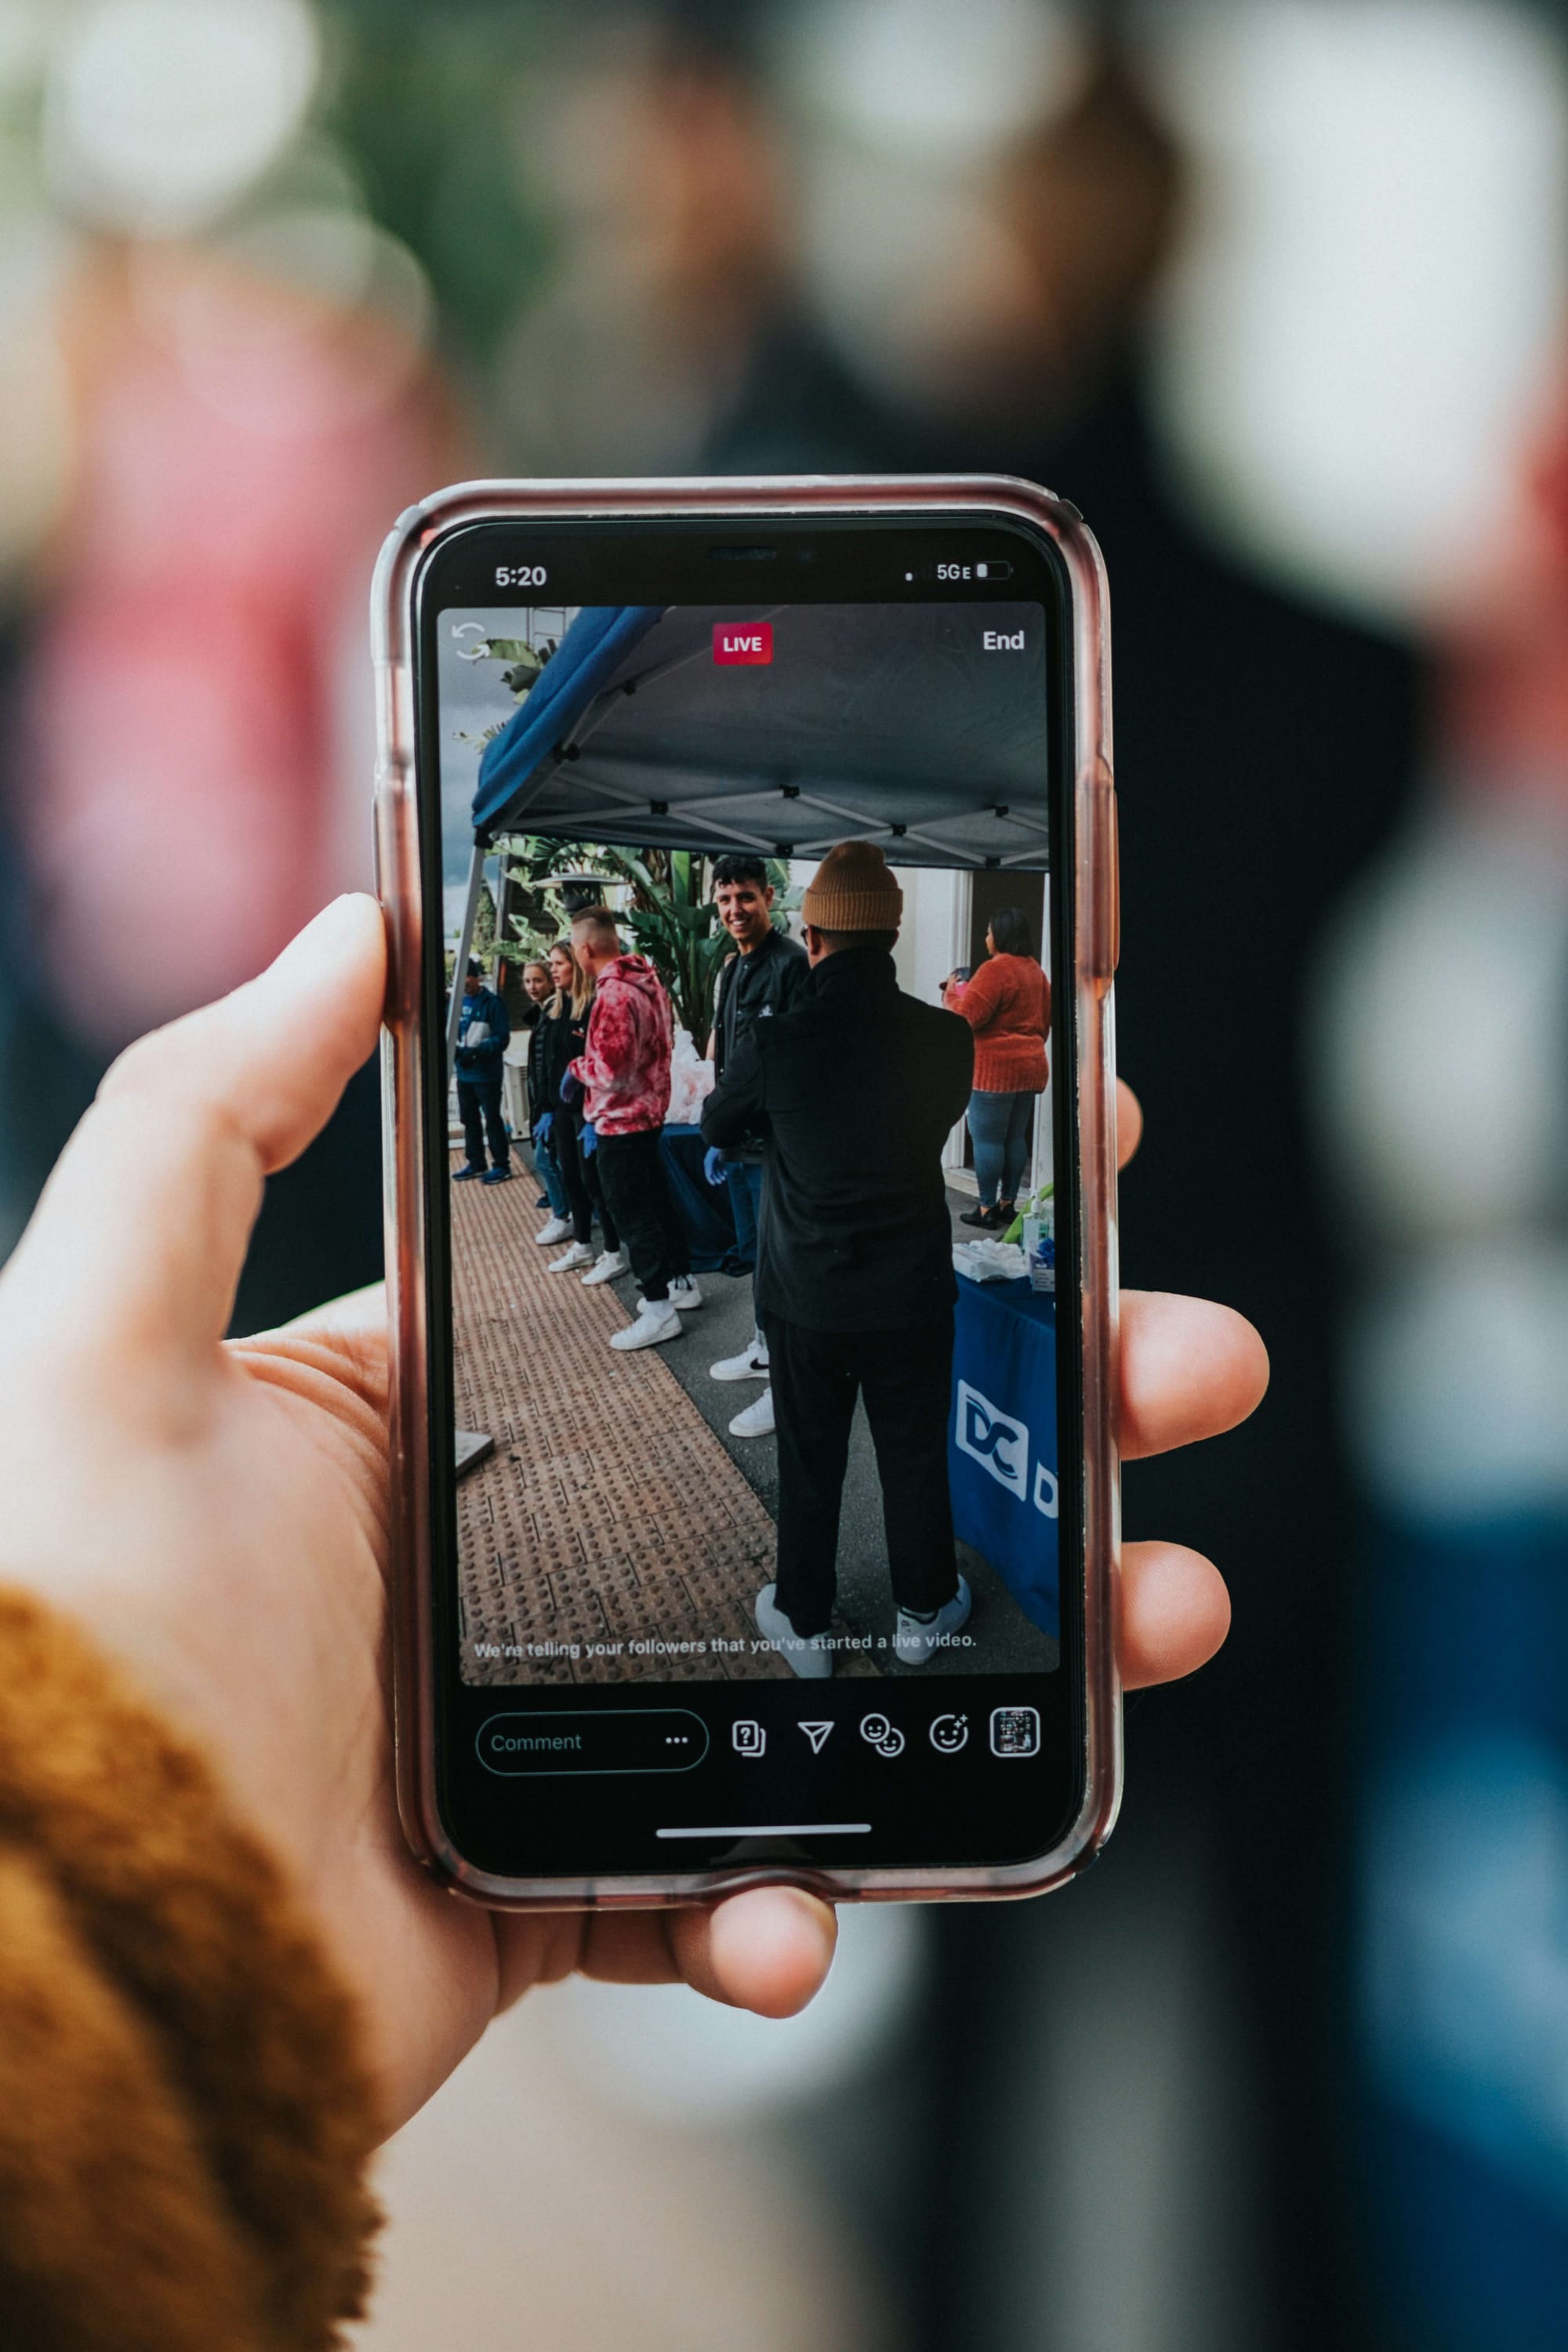
The easiest way to do this is through Shopify POS, which stands for point of sale. This is an app that allows you to sell almost anywhere, including brick and mortar stores, markets, or pop-up shops. The benefits include offering a single back office, a powerful POS app to access integrated analytics, and hardware that suits your needs.
Let’s dive right into how you can set up Shopify POS for your business to start excelling at omnichannel commerce.
Step 1: Choose your sales channels
When you’re looking to start omnichannel commerce, the first step is to determine which channels make sense for your business. An online store is often a good staple as it allows you to reach customers you normally couldn’t.
Other channels that are supported through Shopify include:
- Shop App
- Facebook/Instagram Shops
- Handshake Wholesale Marketplace
- “Buy” buttons on your website integrated with Shopify
- Brick and mortar
- Pop up shops
- Markets
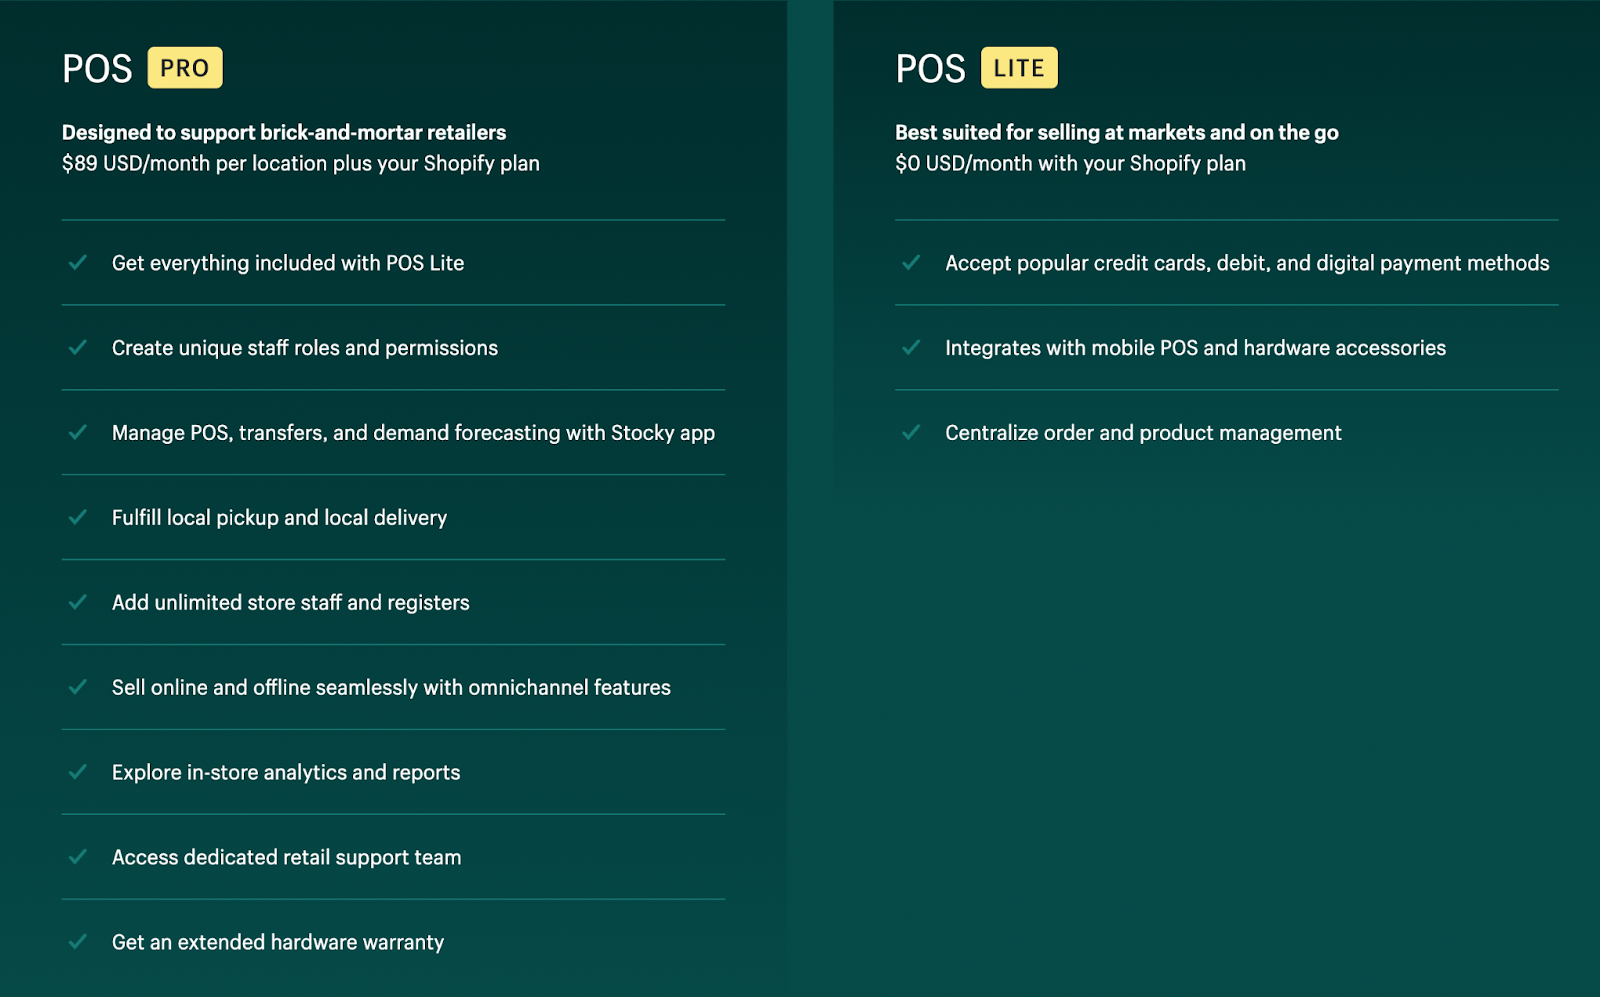
Step 2: Choose a Shopify POS Plan
There are two different Shopify POS plans to choose from: Shopify POS Pro and Shopify POS Lite. Which one is best for you is heavily based on your in-person sales channels. If you are looking to start out with markets and pop-up shops, then the free Shopify POS Lite is for you. However, if you’re looking to set up a full blown brick and mortar store, you’re better off to get Shopify POS Pro.
Shopify offers a full breakdown on their different subscription levels and the pricing structure.
Step 3: Purchase and connect hardware
When selling in person, there’s certain hardware needed to accept payments that you don’t require online. These vary based on the type of store, but at the very minimum require some sort of supported device (iPhone, iPad, or Android), and a card reader.

For more advanced stores, you require more hardware which can be purchased from Shopify’s hardware store.
Step 4: Set up POS app to accept payments
This is one of the most important steps, ensuring you can collect payment. You can either opt for Shopify’s native payment structure: Shopify Payments, or you can use third-party payment providers. Once you have your payment structure set up in your Shopify store, you just need to enable it in the Shopify POS app. In the app, navigate to settings, then payment settings. Once there, in the default payment types section, verify that the credit-debit option shows accepted.
You can also activate alternate payment methods in the Shopify POS app such as cash, gift cards, or custom payment options.
Step 5: Integrate your apps across channels
Now you’re almost ready to start selling across multiple channels. The final step is to integrate all of your apps and add-ons in your Shopify store to Shopify POS. This allows you to have accurate inventory management, unified analytics, advanced customer profiles, and more.
Having this unified data will allow you to create meaningful customer relationships that you can use in your marketing campaigns, or to enhance your loyalty program. Smile.io integrates with Shopify POS so you can reward your customers for shopping with you online or in person.
For more in-depth information on how to set up in-person retail through Shopify POS, check out their Shopify POS checklist.
BigCommerce Point of Sale Apps
BigCommerce is another popular platform for ecommerce stores. Luckily, they also have POS solutions available for stores looking to start selling in-person.
You can bridge online and offline shopping with ease and no additional transaction fees through BigCommerce’s POS solutions. Unlike other ecommerce platforms, you’re also able to customize your POS provider based on what is most important for your brand.
Sounds too good to be true? Well, let’s find out exactly how you can make this your reality.
Step 1: Select your online channels
As with any platform, selecting your online channels is the important first step. BigCommerce is another platform that allows you to quickly and easily create your own online store. But they also offer a variety of other online and offline channels that allow you to drive more traffic.
BigCommerce supports a variety of commerce channels including:
- Facebook/Instagram Shops
- Google Shopping
- Wordpress Ecommerce Plugin
- BigCommerce Buy Buttons
- Online Marketplaces
- In-person stores
Step 2: Choose a POS solution app
Unique to BigCommerce, this platform allows merchants to hand select the POS provider that best fits their business. Merchants can connect their online store to their retail store through a variety of leading POS solutions. BigCommerce has a list of partner apps available in the BigCommerce app store that their customers can integrate with to start selling in-person without additional transaction fees.
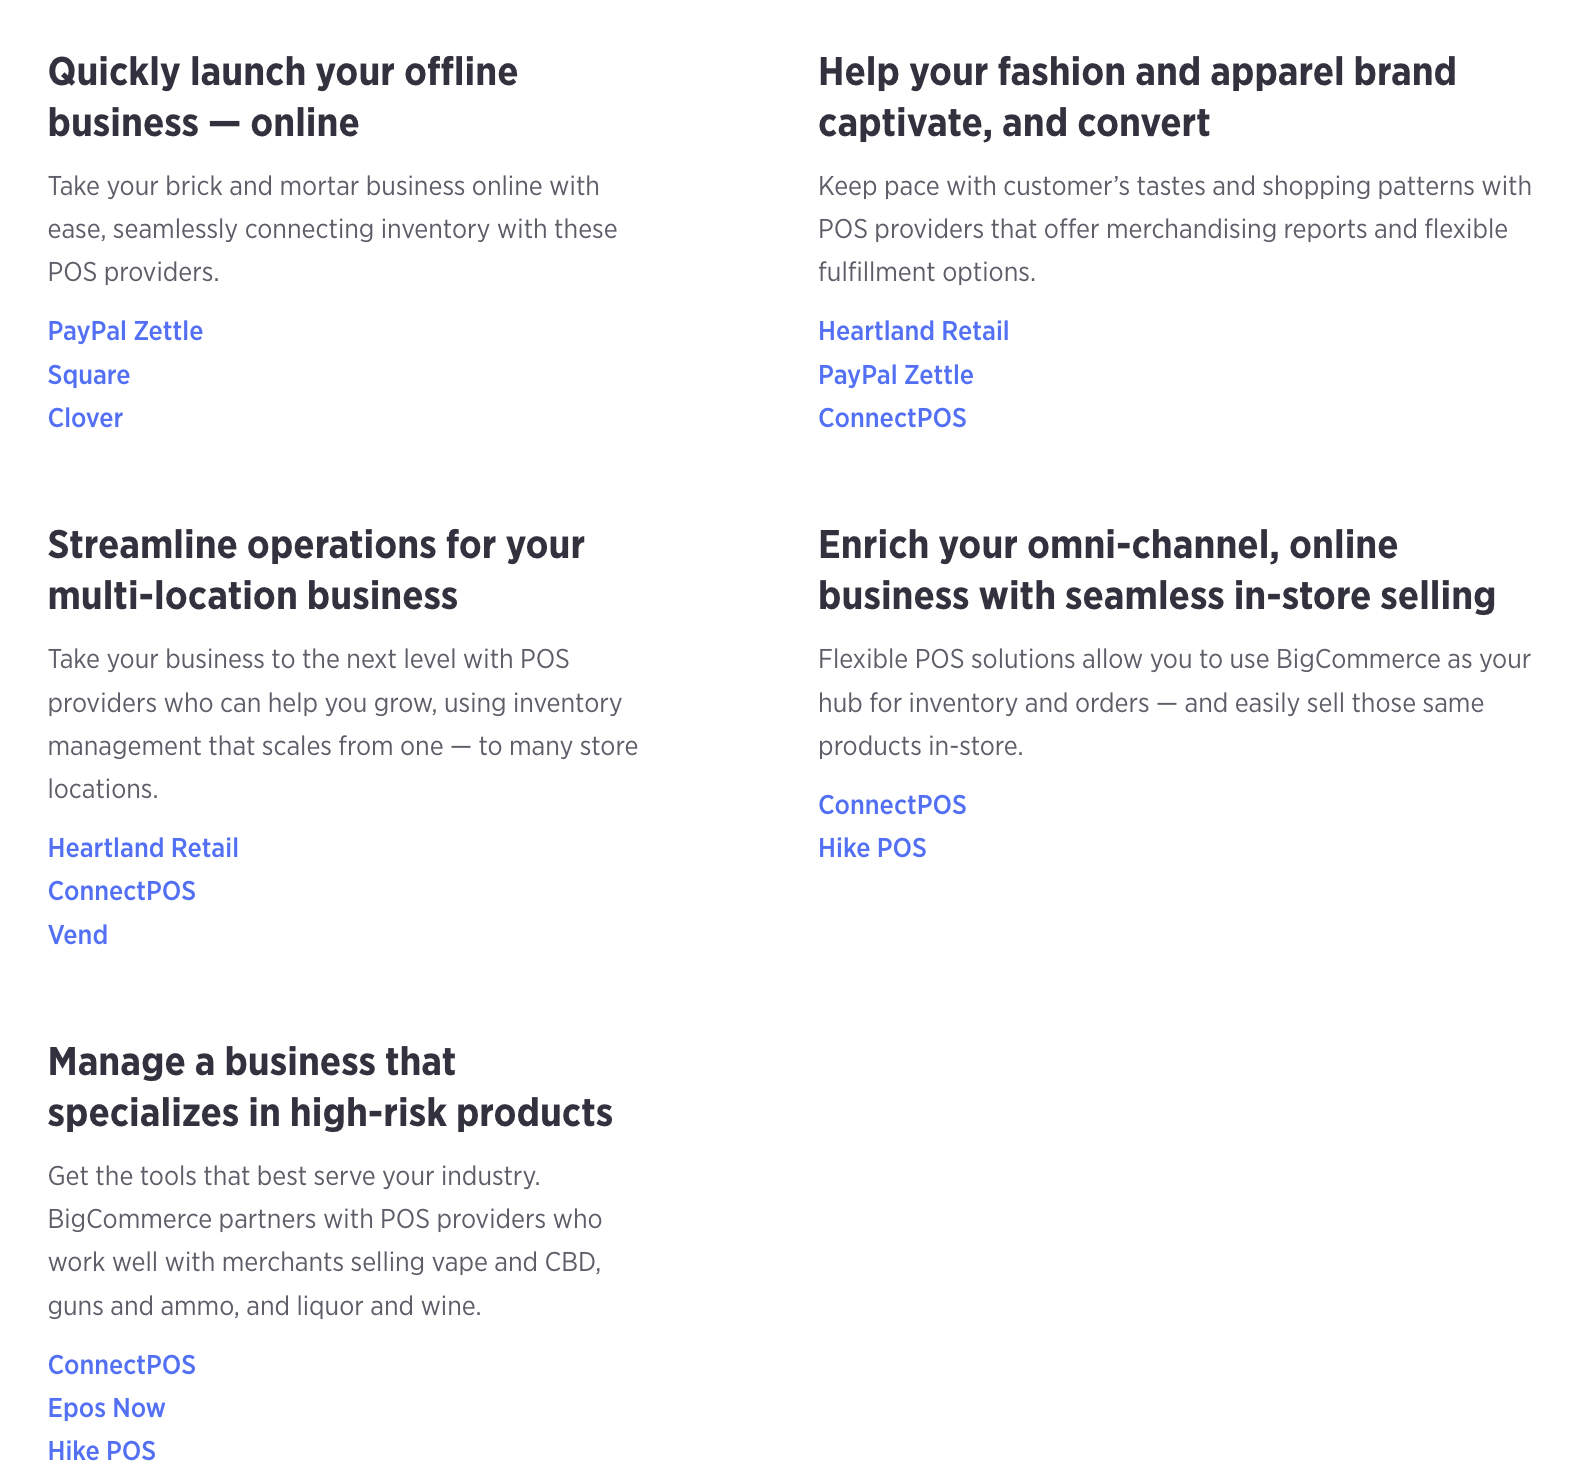
This allows customers to filter through their list of partner apps and find one that is best-suited for their channels and brand. For example, if you own a clothing store and are constantly updating your merchandising reports, then BigCommerce suggests integrating with Heartland Retail, PayPal Zettle, or ConnectPOS.
This level of flexibility is something that is unique and exclusive to BigCommerce merchants.
Step 3: Connect your online store with your retail store
The best part of BigCommerce’s POS solution is that you can integrate with an app but control everything from the BigCommerce admin panel. This makes the process of setting up and managing your omnichannel commerce smooth and easy.
Once you’ve connected your online store with your retail store through an app integration, you’re ready to start selling both online and in-person. This allows you to offer benefits to your customers such as buying online, and picking up in store. Finally, you can easily add on more integrations through the BigCommerce app store for things like shipping and fulfillment. This will make the shopping experience smooth and easy from start to finish for your customers.
Wix Point of Sale Retail
Last but not least, Wix is another platform used by millions of ecommerce entrepreneurs worldwide. They allow you to sell wherever your shoppers are through a variety of features such as multiple compatible sales channels, 150+ language translation options for global stores, and the ability to sell in person with Wix POS.
Wix POS is able to cater to different business types including retail, services, and event-based businesses. We are going to focus on WIX POS for retail brands, which is currently only available to those located in the United States.
Let’s dive into how you can set up an in-person store with Wix POS in just 4 easy steps.

Step 1: Create Wix Payments account
In order to use Wix POS, you must be a verified Wix Payments account owner. This is the first step you should take before going any further with Wix POS. The process is relatively simple and involves uploading some of your personal and business documentation (photo ID, bank account information, addresses, etc…). Once you’ve uploaded all the relevant information, it takes about 7 days for your certification.
Find out the full Wix Payments verification process for both personal and business accounts.
 Jonathan Roque
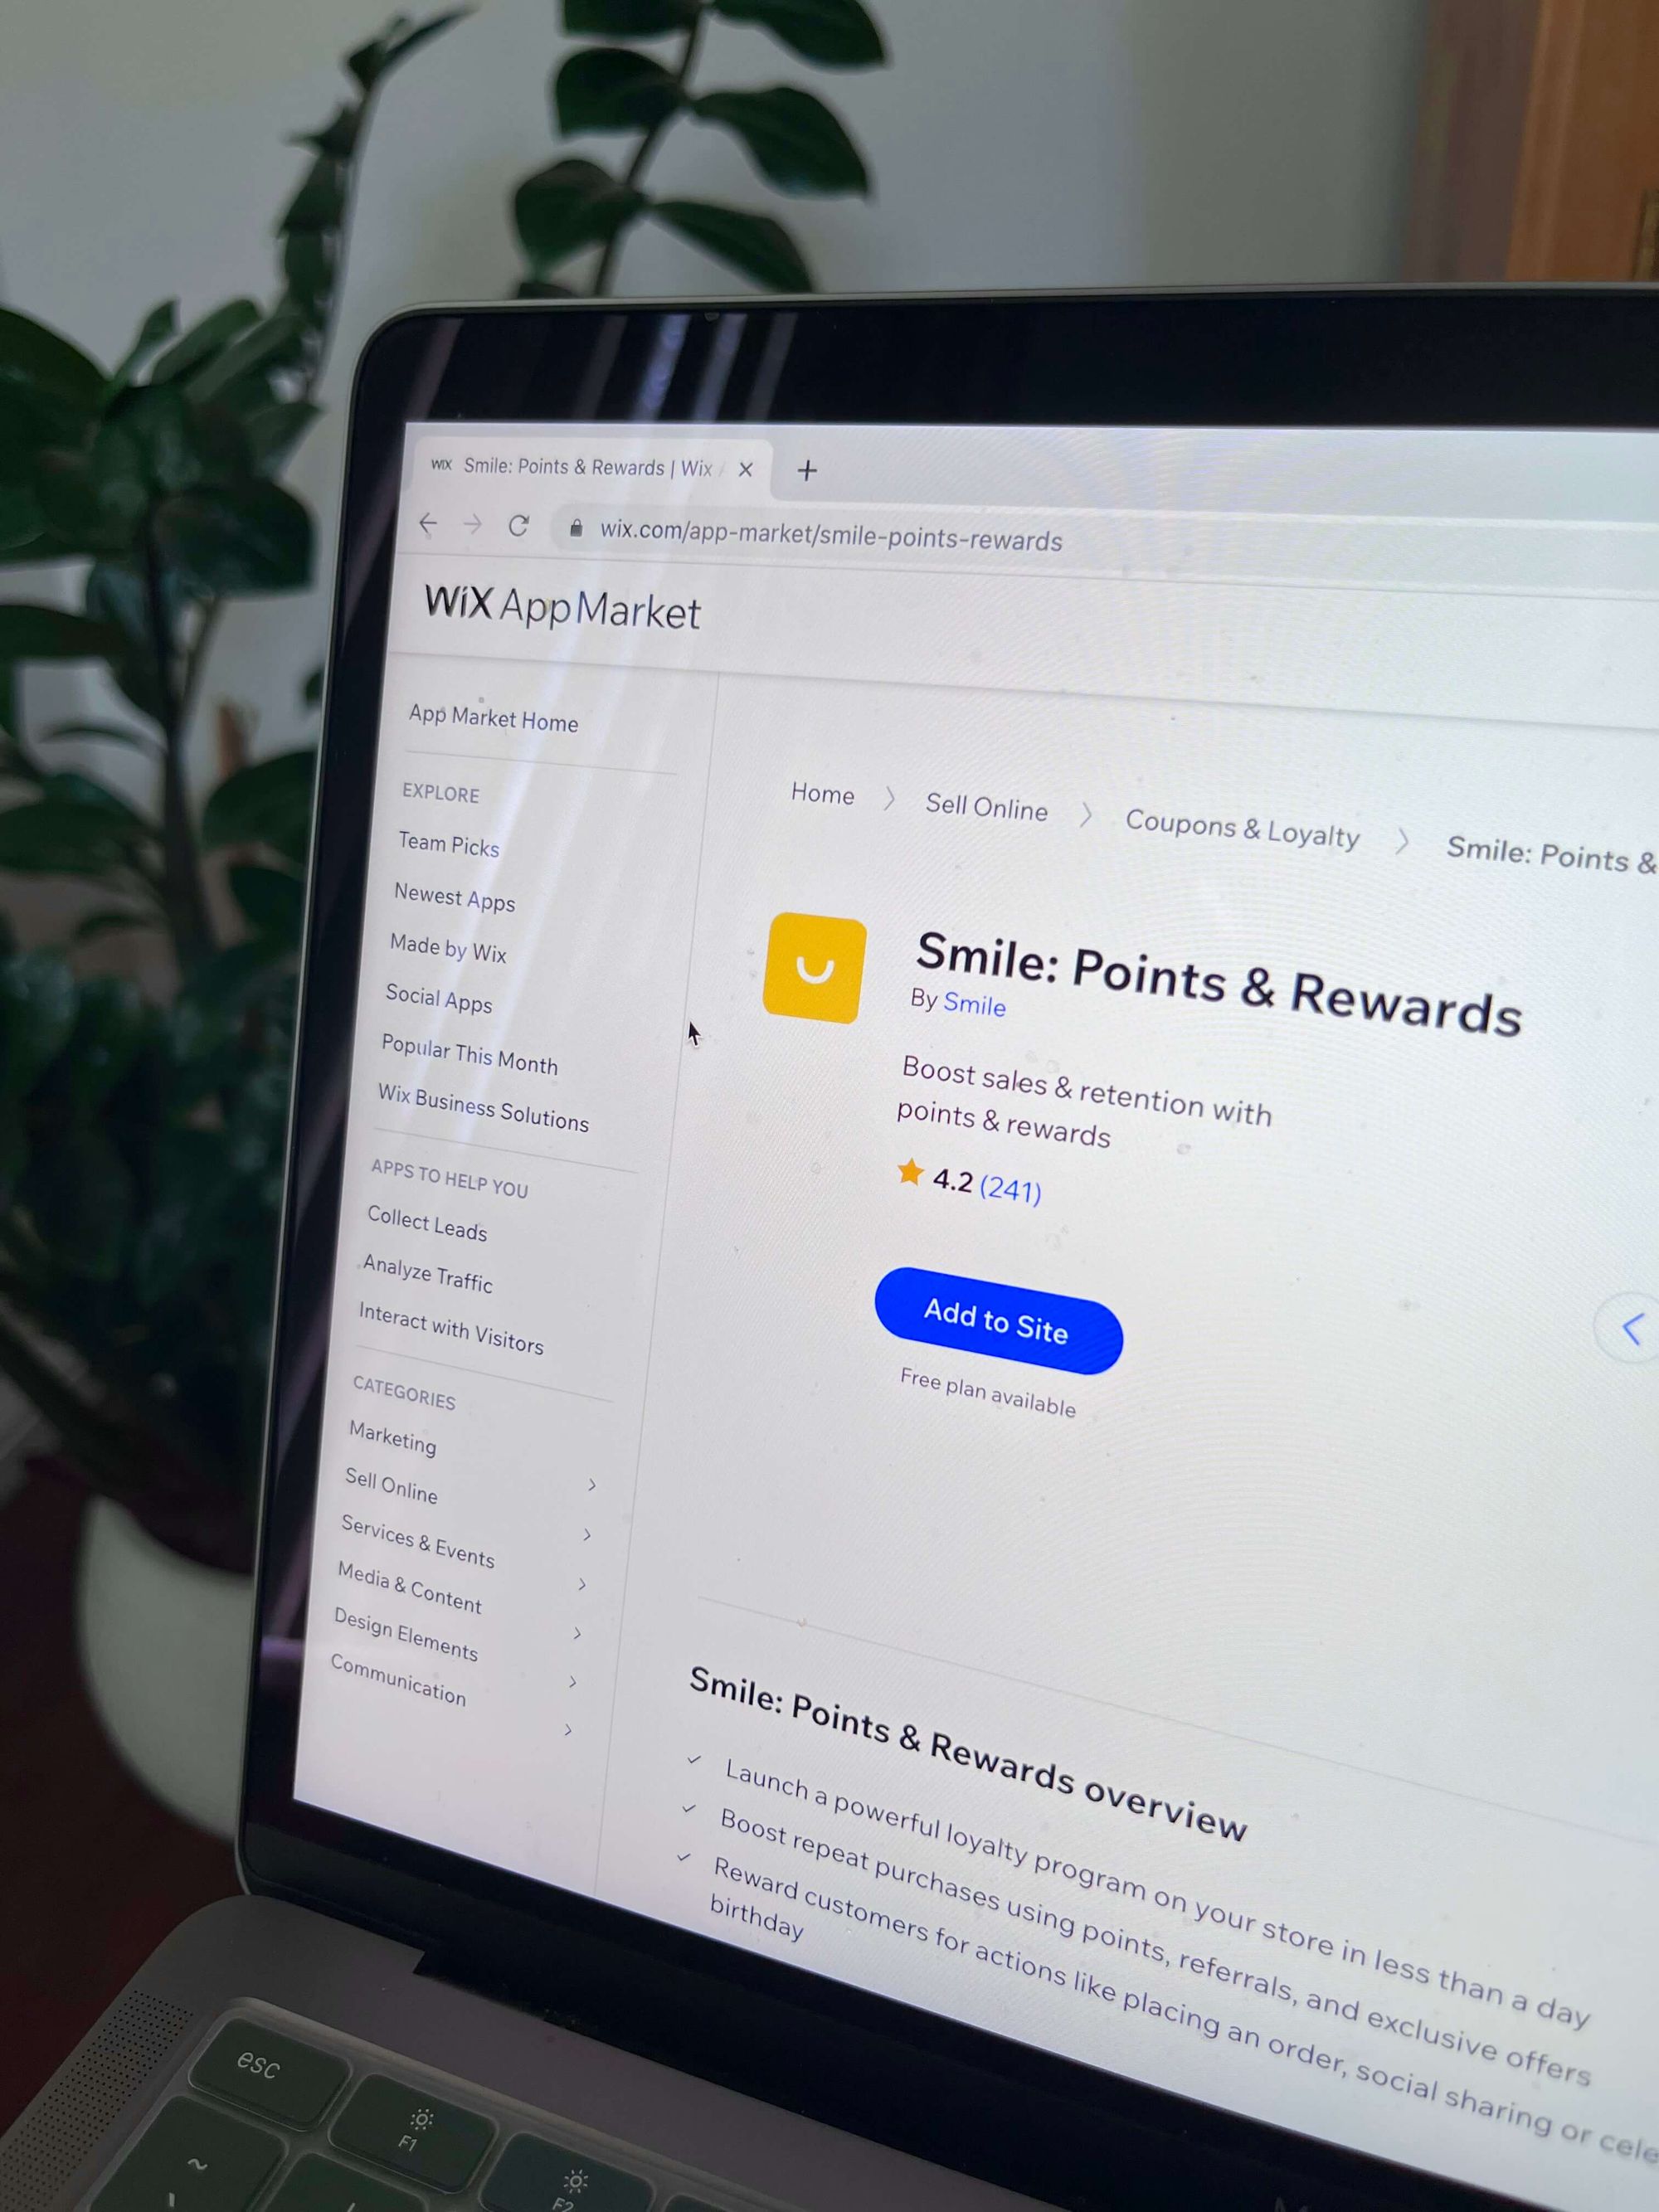
Step 2: Buy POS hardware based on your channels
Wix makes it easy to sell in person for both brands with permanent retail locations and those who sell through pop-ups, markets, and festivals. They offer both retail POS hardware kits and a Wix Mobile POS app that integrates with their portable card-reader.
Wix offers three complete hardware kits based on your brand’s needs.
- The Complete Retail POS Package: a tablet with customer display, Wix POS software, compact card reader, sleek receipt printer, cash drawer and barcode scanner.
- Your Retail Essentials: a tablet with customer display, Wix POS software, compact card reader and its charging dock.
- Card Reader: a compact, wireless card reader works with the Wix Owner app so you have everything you need to sell on the spot.
You can choose one of these POS kits, or build your own using their “POS à la carte” options.

Step 3: Set up Wix POS
Wix makes it as easy as possible to set up a POS channel through these retail POS kits. These hardware solutions come with the software already installed so that all you need to do is plug it in and login.
For permanent retail locations, all you need to do is login to your Wix account on the POS tablet and then you can start selling your catalog immediately. For mobile locations, you can login to the Wix Owner app (iOS and Android) and accept payments through the Wix card reader.
Wix recommends using their native payment plan, Wix Payments to accept a variety of payment types. However, you are able to add third party payment providers in your Wix account if desired.
Step 4: Start selling
Now that you’re all set up and ready to go, the final step is the fun one: sell! With Wix POS installed, you’re ready to start offering additional commerce channels to begin enhancing your customers’ omnichannel shopping experience.
Create a seamless omnichannel commerce customer experience
No matter where you are selling your products, you can’t beat the benefits omnichannel commerce offers. Through any of these ecommerce platforms, POS solutions offer multichannel inventory management, united analytics reports, and data needed to form unique customer profiles to create personalized customer experiences.